I am back with Apple, Pear and Chocolate Cake

Oh it feels good, very good indeed.

I am back amongst my blogging buddies. It is wonderful.

Things were rather overwhelming in the past 5 months, so I had to take a time-out and concentrate on other things. But spring has sprung and I am leaving everything bad behind me. Making a fresh start to a new blogging year. Good stuff indeed.

And how better to start all over with two of my favourite ingredients, chocolate and pear. I always felt that these two flavours are the perfect combination. The sweet, juicy pear really does compliment the almost bitter dark chocolate. Sweet on a whole new level.

image2

I found the recipe on www.swissmilk.ch for all the German speakers amongst you this is a very good database. It has lots of traditional Swiss recipes but not just those. Often when I just find some ingredients in my cupboard wondering how to turn them into a dessert and I type the ingredients into google, the search engine usually comes up with a suggestion from that website. But don’t worry, the name of the website is a little misleading, there aren’t just recipes with milk in it. 😉

image1

Apple, Pear and Chocolate Cake

  • Servings: 12
  • Difficulty: easy
  • Print

Ingredients:
175g soft butter
200g sugar
1tsp. vanilla sugar
a pinch of salt
4 eggs
200g apples, seeded and roughly grated
200g pears, seeded and roughly grated
300g flour
1tsp. baking powder
150g dark chocolate, roughly chopped

Directions:

1. Whip the butter until soft, then add the sugar, vanilla sugar, salt and eggs.
2. Mix well until the mixture is pale.
3. Stir in the grated apple and pear.
4. Finally add the flour, baking powder and chocolate and mix well.

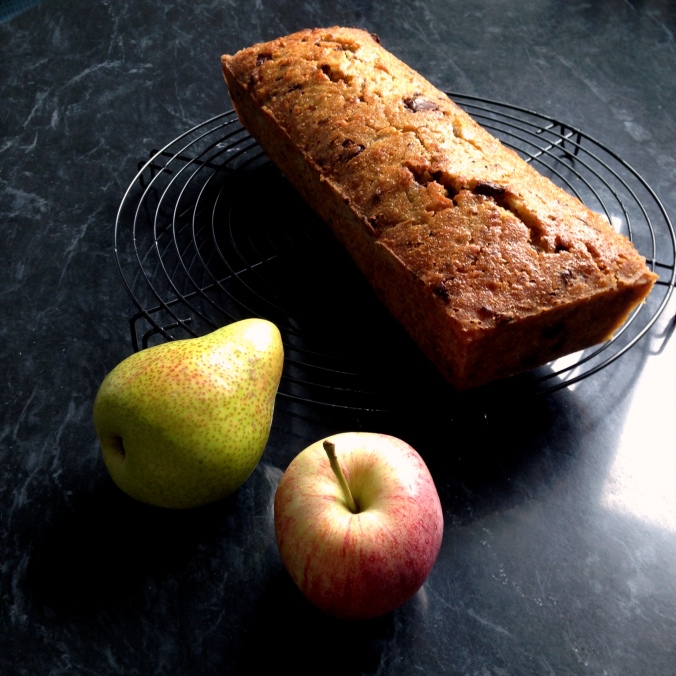
Fill the batter into a 30cm long cake dish and bake in the lower part of the preheated oven for 60 – 65 minutes at 180°.

image4

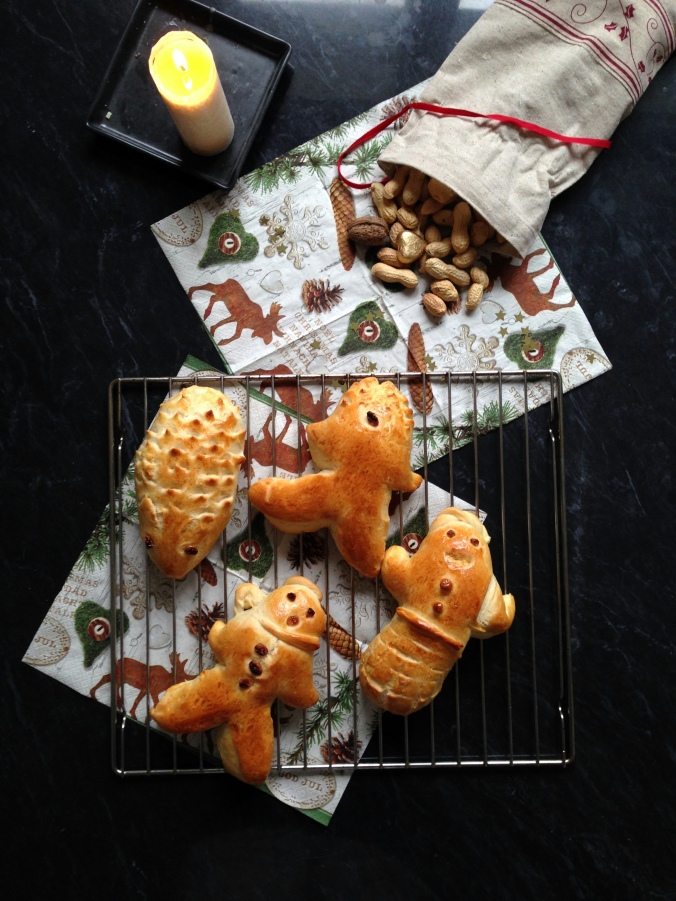
Grittibänz (or soft buttery bread)

Today is the 6th of December.

We all know what this means, don’t we?

IMG_1597

Samichlaus is here. ‘Samichlaus’ is the Swiss version of St. Nicholas and usually stops by every Swiss house (usually only houses with children in it though 😉 ) bearing gifts for the good kids and his helper ‘Schmutzli’ is handing out sticks for beating for the naughty kids. However, these days even the sticks have chocolate attached to it. It’s all very modern now and don’t worry, the sticks are just symbolic.

But traditionally ‘Samichlaus’ wouldn’t bear gifts such as toys, money or bikes. He would bring nuts, mandarins, apples and of course later chocolate in a straw bag. We would sometimes leave our shoes outside, when I was a child, and the next morning they would be filled with these treats. It was such a nice tradition.

But, he ho, I forgot one very special treat for ‘Samichlaus’ day and that is the Grittibänz. A wonderful buttery, fluffy bread, that is best when dunked in a hot chocolate or eaten with a chocolate bar pushed inside the bread. Deeelliiccciious!

IMG_1598

Grittibänz for Samichlaus

  • Servings: 4 little men
  • Difficulty: easy
  • Print

Ingredients
500g flour (in Switzerland you can buy special ‘Zopfmehl but it works with any)
1.5 tsp. salt
3 tbsp. sugar
20g fresh yeast, crumbled
60g butter, soft
3dl milk, lukewarm

1 egg, beaten

Directions
1. Weigh the flour, salt, sugar and yeast in a bowl and mix together.
2. Add the lukewarm milk and soft butter to the bowl.
3. Knead into a soft and smooth dough for about 10 minutes.
4. Leave it to rise at room temperature for about 2 hours (the dough needs to double in size).

I usually leave a with warm water sprinkled kitchen towel on to of the bowl. It helps the rise.

1. Once the dough has risen, divide it into 4 portions.
2. To form them little men, roll the dough into a cylinder and cut arms and legs with a sharp knife.
3. Then decorate it to your liking. You could even use sultanas or nuts to ‘draw’ a face.
4. Brush the 4 parts with the beaten egg.

Bake in the preheated oven at 180° for about 25 minutes.

IMG_1599

The only thing that is now missing is the right weather to the into the Christmas spirit. It has been cold here for the past few days, but snow isn’t showing its face yet. I don’t know about you, but without snow, I just find it very hard to get into any Christmas spirit. So fingers crossed, that it will fall here soon.

IMG_1600

Banana Bread

I am not crazy about bananas. I mean, I go absolutely bonkers for mangos, avocados, berries and lots of other fruit and veg, but bananas? I mean I like them. And I do eat them a lot. They are so handy to carry, filling and they taste nice enough. So I have never even thought about doing anything else with bananas than just simply eat them.

But.. then I found banana bread!

I mean I tried it a few years ago, while travelling abroad (it is not hugely popular or known here in Switzerland) and I remember thinking ‘Oh! That’s actually quite nice’. But then I forgot about it again and the years flew by until I started to have a food blog.

Yes, my blog helped me rediscover banana bread. Well, to be more precise it was you people with all your wonderful blogs and personal recipes for banana bread. I knew that I had to try it again. Plus I had a really old banana in my fruit basket that REALLY needed to be used (not the one in the pictures obviously, the one I used was way older).

DSCF3448

So as usual I went rumaging recipes that suited the ingredients in my larder and found a great and simple recipe on BBC Good Food. I really love this website, I always find what I am looking for there, it’s very well explained and usually has the basic recipes too. Just my taste.

Banana Bread

  • Servings: 1 mini loaf (1/4 of a normal cake size)
  • Difficulty: easy
  • Print

Ingredients
70g butter
70g caster sugar
1 egg beaten
70g flour
1/2 tsp baking powder
1 very ripe banana, mashed
20g white chocolate chips

Directions
1. Cream the butter and sugar together until the mixture is light and fluffy.
2. Then add the egg and the flour and mix well.
3. Add the baking powder and banana and combine with the mixture.
4. Pour into the prepared tin.

Bake in the preheated oven at 180° for about 25 minutes.

This might just be my last ‘normal’ recipe for this year. Christmas season is around the corner (or for some it has already started) and I am truly itching to get started with my Christmas baking. I bet I will be gaining at least 5kg this winter. Good thing I have just joined the gym (I had to really, ever since I started this blog, my trousers have somewhat shrunk). And I am going in at full throttle. Tomorrow I get a 2.5 hours fitness level assessment. Oh dear. I better eat some more of that banana bread to drum up some courage. But don’t worry, in case I will disappear from this blog for a while, I might just be standing in a corner catching my breath (probably lying in a corner gasping, more like).

Better eat some more banana bread…

DSCF3450

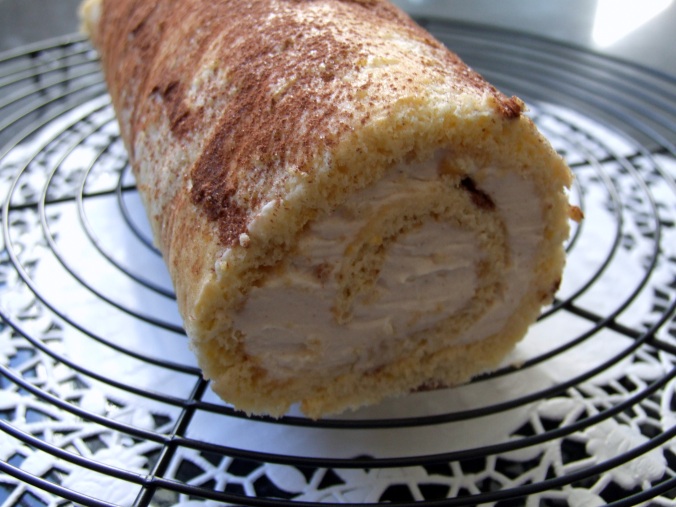
Tiramisu inspired Swiss Roll

Where have I been?

Good question. I am not sure myself.

But do you know these times, when time is always running low, when you should do this and that and in fact, your energy is just enough for half of your chores? Well that’s kinda what it was like in the past few weeks. So I shamefully admit, that I have neglected my blog and you wonderful people. This shall now change (but let’s keep our fingers crossed for this anyway).

To show you how sorry I am, I have made you a new cake. Well it’s actually a Swiss Roll (eventhough I am Swiss, I have no idea why this one is called Swiss Roll). I adapted the recipe from Katerina’s blog Diethood. She made a wonderful Tiramisu Cake Roll and I just had to try it for myself. But being me, I changed a few bits and bobs and took another recipe for the sponge.

141111 Tiramisu Swiss Roll Cake

Tiramisu inspired Swiss Roll

  • Servings: 1 roll
  • Difficulty: medium
  • Print

Ingredients for the dough
70g sugar
3 egg yolks
1 tbsp hot water

3 egg whites
1 pinch of salt
2 tbsp sugar
70g flour

1 tsp cocoapowder
1/2 tsp water

Ingredients for the syrup
1dl of coffee
2 tsp sugar
1 tbsp coffee liquor

Ingredients for the filling
250g mascarpone cheese
1 pinch ground cinnamon
1/4 tsp cocoa
1 tbsp coffee liquor
120ml chilled heavy cream

Cocoa for Dusting

Directions for the dough
1. Mix sugar, water and the egg yolks with a handmixer for about 5 minutes, until frothy.
2. In a different bowl, whisk the egg whites with the salt stiff. Add the sugar and whisk until shiny.
3. Gently fold flour and beaten egg whites by layers into the egg yolk mix.
4. Take approx. 3 tbsp from the mixture and leave it in a cup.
5. Spread the remaining mixture 5mm thick and rectangular onto a baking tray.
6. In the meantime mix the cocoa and water with the mixture in the cup.
7. Now pipe the cocoa mix onto the rectangular mix to create a nice pattern. I used a fondue fork to pull a pattern.

Bake in the preheated oven at 220° for about 6 minutes. Once cooked immediatley take the tray out of the oven and turn the cake onto a new baking sheet. With a wet towel gently caressing over the old backing paper try and remove it from the cake. Once removed roll the cake with the new baking paper into a round form and leave to cool entirely.

Directions for the syrup
1. Mix the coffee with the sugar.
2. Once cooled add the liquor, mix well and set aside.

Directions for the filling
1. Combine mascarpone, cinnamon, cocoa and coffee liquor in a large bowl
2. Beat together until thoroughly combined.
3. In a separate bowl, beat heavy cream until very stiff.
4. Fold the whipped cream into the mascarpone mixture until combined.
5. Set aside for later.

Assembling the Swiss Roll
1. Unroll the cake and remove the baking paper.
2. Lightly brush the inner cake with the syrup. Be sure not to soak it or use too little.
3. Spread the filling on the inside of the cake. Making sure to leave a rim of about 2cm all around and to spread it evenly.
4. Gently roll the cake back up.
5. Trim the edges and dust some cocoa powder on top (if desired).

DSCF3432

I shall bring this roll to tomorrow’s Fiesta Friday. I’ve been longing to participate again. Then although this blog was quiet, I was still following up what you all were up to. So already happy Friday!

Florentines

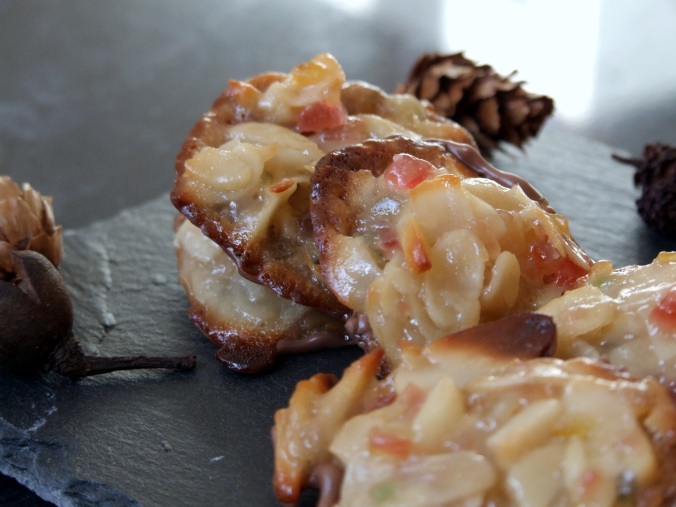
What’s the best cookie in the world? Hell ye, florentines! I like every possible version of it. Mine are similar to what my mum used to make for Christmas, gooey, sweet and a little crunchy. But then you get the store bought versions with are cruuunchy! So crunchy. I like them too. I don’t actually know which way they are supposed to be like, but it doesn’t matter, there are chocolate and nuts in all of them.

DSCF3415

So it’s been about time that I tried to make them myself (yup I usually only eat them, never make them). I guess if there is something you like above everything else it’s hard to match those memories by attempting your own version. But I just had to go for it. I have recently seen quite a few versions of my fellow bloggers and it inspired me to try my own. And yes, it’s safe to say it was a success. So happy to share this recipe with you.

Florentines

  • Servings: 30 cookies
  • Difficulty: medium
  • Print

Ingredients
1 tbsp butter
1,5 dl cream
1 tsp honey
100g sugar
100g candied fruit, minced
50g almond slivers
50g flaked almonds

2-3 tbsp flour

125g milk chocolate

1. First bring the butter, cream, honey and sugar slowly to the boil.
2. Reduce the heat and simmer gently while adding the candied fruit, and the two types of almonds.
3. Mix well and simmer for about 3 minutes.
4. Add the flour and keep stirring until the paste thickens.
5. Take off the heat and use two teaspoons to spoon the mixture onto the baking tray.
6. Leave plenty of room between cookies as the mixture will spread.
7. Try and press the spooned mixture down a little bit.

Bake in the preheated oven at 220°  for about 5 minutes. Keep a constant eye on them, 1 minute more and they might already be burned.

When cooled down a bit, melt the chocolate and dip one side of the florentines into it. Leave to cool completely.

DSCF3414

You have probably noticed, that it’s been a bit quiet on my blog recently. It’s because I am back at Uni (a mature student as they say, or just a plain old spinster as I say 😉 ). Well sort of, I’ve been doing Open University courses for a few years now. Slowly scuffle towards my BA in English and Literature. I try, but then what do they say? The journey is the reward. I do enjoy learning, but then on other days I have a big questionmark hanging over my head. “Hark! What dost Shakespeare mean?” So these cookies are the best way to calm down again. Bring my sugarlevels up and after florentines and a cup of tea knuckle back down and get it over with. 😉

So to all my fellow students, bake these and you will feel better. Promise!

DSCF3413

I will be bringing these treasures to Angies Fiesta Friday tomorrow. It’s no problem, you can keep these yummies in a tin for a few weeks. But really, they never last that long. So here is a thank you to you Angie, for organising this wonderful party every week. Here’s a very gratefully little blogger.